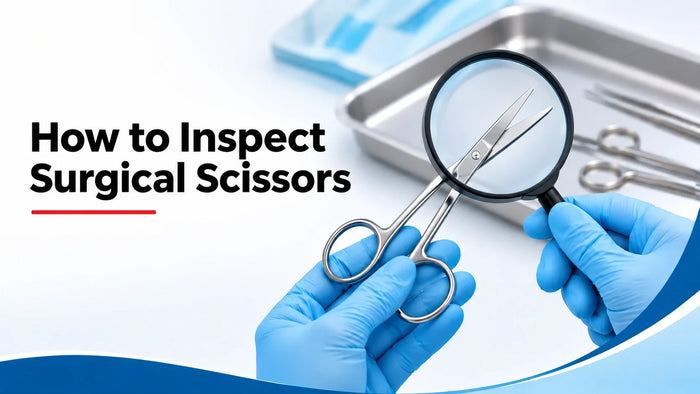
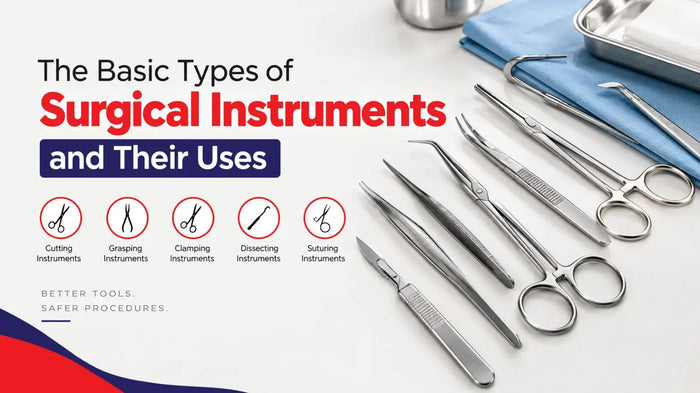
Surgical Scissors
An eight-step inspection routine that needs no lab: good light, a few minutes, and a careful eye.
A dull pair of surgical scissors is a bigger problem than you think. It can damage tissue more than cut it. It can slow down the procedure. And for a wholesale supplier, it means complaints and returns.
The good news is there is no need for a lab to check a pair of scissors. By following a few simple steps, you can tell the tool's condition: whether it is ready to use, needs sharpening, or should be thrown away. It is important to learn how to test a tool and when to stop using a pair of scissors for good.
How to Inspect Surgical Scissors: Let's Start
Let's start analyzing the tools with a step-by-step method.
You cannot inspect what you cannot see. Before you check anything, make sure the scissors are clean and dry. Leftover soil or water can hide small cracks or nicks. It can also make a sharp edge feel dull.
Look at the whole tool in good light. A bright lamp helps you spot problems that normal room light hides.
The cutting edge is the most important part of any surgical scissors. Look at the blades from the tip to the screw. You are looking for three things:
Nicks or ChipsSmall holes or missing bits of metal on the edge. If you see these, the scissors cannot be fixed.
PittingTiny dark holes in the metal. This is a sign of corrosion. Pitted scissors should not be used.
CracksLines in the metal, often near the screw. A cracked tool is not safe.
If the edge looks rough or uneven, the scissors are likely dull. A dull edge will not cut cleanly.
You can test sharpness without cutting a patient. Many sterile processing teams use a special test strip. Open and close the scissors on the strip. If the scissors grab or catch the material instead of slicing through it smoothly, they need sharpening.
If you have no test strips, you can use a piece of thin, soft material. Cut near the tip of the blades, then cut near the screw. A good pair cuts cleanly along the whole length. If it only cuts near the base, the tips are dull.
Never test scissors on your skin or on a colleague.
Open and close the scissors slowly. The movement should feel smooth, not loose or rough. A loose or worn screw makes the scissors feel "sloppy." When the joint is loose, the two blades do not press together properly. The scissors will fold or tear material instead of cutting it.
Check the area around the screw for small cracks. A crack near the screw can get worse with use. A loose screw can sometimes be fixed. A cracked joint usually means the tool is ready to retire.
Close the scissors and hold them up to the light. The tips should meet evenly. They should not cross over each other. They should not rub hard at the tip.
Now open and close the scissors a few times. Feel for any rubbing or grinding. Bent tips often rub together at the end. Bent tips can sometimes be repaired. Broken tips cannot.
A good pair closes with a light, even click. The blades should meet along their full length without gaps. It is not only scissors that need this attention: check your other dental tools with the same care.
Stainless steel is not rust-proof. When you clean it, it can rust if stored the wrong way. Look for:
- Brown or orange spots
- Rough patches on the surface
- Flaking or peeling metal
Rust and pitting make small holes in the metal. These holes can trap dirt and bacteria. A rusted tool cannot be fully cleaned. It should be removed from service.
The handles are where your hands go. They should feel smooth and comfortable. Run your thumb along the inside of the finger rings. You should not feel sharp edges or burrs. Sharp edges on the handle can cut gloves or hurt your hands during a long procedure.
Also check that the handles line up. When you close the scissors, whether general scissors or not, the two handles should come together evenly. If one handle is bent, the blades may not meet correctly.
Not every problem can be fixed. Some damage means the scissors have reached the end of their life.
Chips or cracks on the cutting edge
Pitting or deep rust that cannot be cleaned
Broken tips
A cracked joint or screw area
Blades that do not meet or cross over even after adjusting them
Using a damaged tool puts patients at risk. It can also cause problems for your business. For wholesalers and private label sellers, one bad batch can hurt your reputation. For clinics, a failed tool can delay a procedure.
Fortec: High-Quality Surgical Scissors Supplier
Fortec is not only an ordinary supplier of surgical scissors. It is a strategic partner for wholesalers, dental clinics, and private label partners. Every pair provides you with clean cuts, smooth joints, and a long service life. We have strict quality standards for every instrument. We not only promise but deliver at your door, so you can trust us.
From scissors to all the dental instruments a clinic needs. Choose Fortec as your primary supplier. Contact us to start with a free quote.
Contact Us For A Free Quote →Conclusion
Inspecting surgical scissors is not complex. It takes good light, a few minutes, and a careful eye. Check the edges for chips and pitting. Test the cut. Feel the joint. Look at the tips. And know when to retire a pair.
For wholesalers, suppliers, and clinic buyers, this simple routine protects your patients, your team, and your name. A sharp, safe pair of scissors is a small thing that makes a big difference.
Frequently Asked Questions
How often should surgical scissors be inspected?
Every time they are cleaned and prepared for reuse. A quick check takes less than a minute. A full inspection can be done weekly or before each batch is packed.
Can dull surgical scissors be sharpened?
Yes, many dull scissors can be sharpened. But scissors with chips, cracks, or pitting cannot be fixed. A professional sharpening service can restore a good edge.
What is the "test strip" method?
It is a simple sharpness test. You cut a special strip of material with the scissors. If the scissors grab or tear the strip, they need sharpening.
Can I use any material to test sharpness?
No. Do not use your skin, gloves, or random cloth. Use a proper test strip or a soft, thin material that lets you see a clean cut. Always cut away from your body.
What should I do with scissors that fail inspection?
Remove them from your working set right away. Label them as "do not use." Then either send them for repair or throw them away, depending on the damage.